Tools
You will need….
https://www.jacquardproducts.com/cyanotype-set/
If you have an old picture frame this will do perfectly. Remove the frame and use the backing board and the glass/perspex to support your developing prints. if the glass edges are a little sharp, bind them with tape.
You will need….
- Some uncoated paper or printing paper. Even paper bags or cloth will do….
- A cyanotype kit Jacquard parts A and B
https://www.jacquardproducts.com/cyanotype-set/
- A soft 2” decorating brush or foam brush.
- A glass or perspex sheet to hold everything still if the wind blows. Ideally larger than the paper that you are using.
- A firm board to lay the paper on.
- Some plastic gloves to keep the chemicals off your hands.
If you have an old picture frame this will do perfectly. Remove the frame and use the backing board and the glass/perspex to support your developing prints. if the glass edges are a little sharp, bind them with tape.
- Clips to secure the paper between the glass and the board (if your objects are thin enough).
- Coffee grounds, sea salt, turmeric, soap bubbles, vinegar ( all optional)
Process
Make up the cyanotype solution as per the instructions on the pack. Leave it to mature for 24 hours if possible.
Choose a sunny day that is not too windy. Light cloud cover is fine. Exposure will take longer in winter months than summer. UV light is the active ingredient. Sunlight is ideal.
Using your protective gloves, paint your paper with the solution. Coat in two directions for even cover.
Lay the paper on your board. Do this out of direct sunlight in a shady place or indoors, to stop the print developing before you are ready.
Place your chosen objects on the paper. Leaves. flowers, household objects; your imagination is the only limiting factor. Flatter objects work better. You can cut the back off thick flowers with a craft knife.
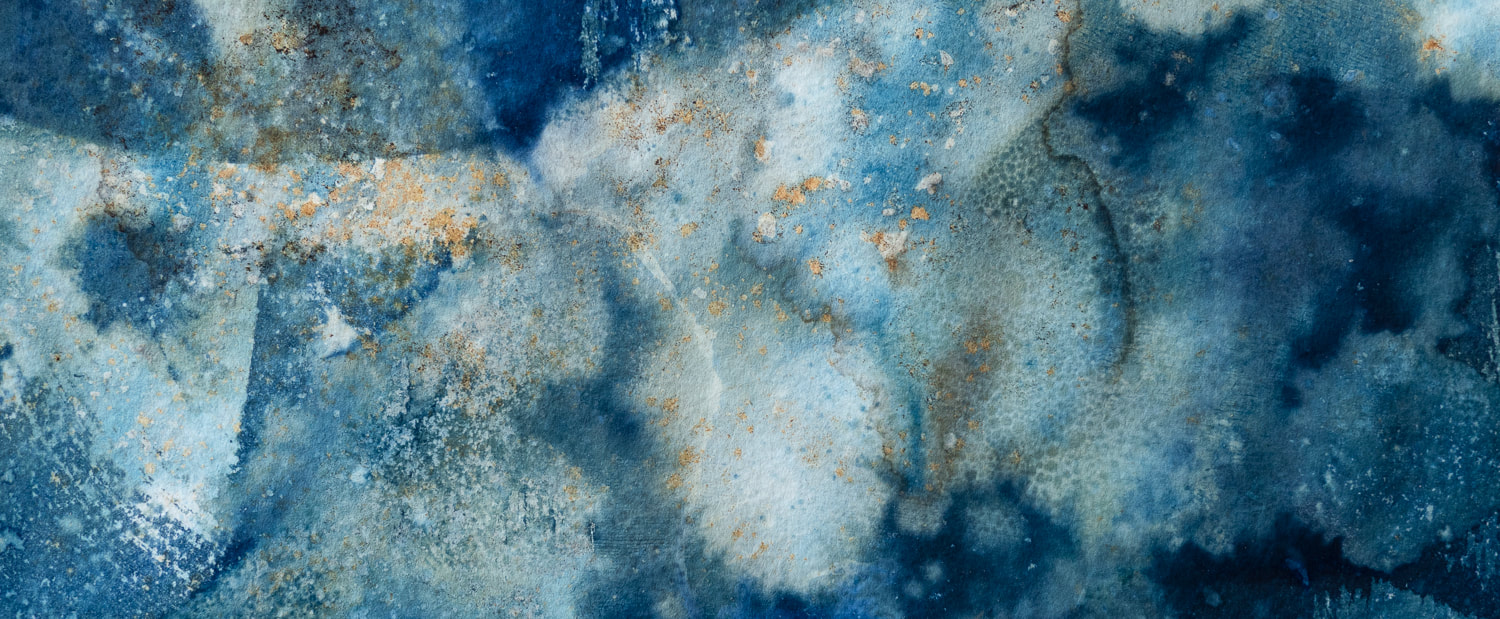
At this stage you can add soap bubbles, turmeric, coffee grounds, salt crystals, diluted white vinegar and other colourful spices to the paper. These will all add their own character and colour. Experimentation is the key.
Once your composition is complete, place the glass/perspex over the paper and fix with clips if possible. Now you can go outside with your creation to let the sun develop the print. UV light is available even on a cloud day. it just takes a bit longer.
Be careful not to let things move around once the plate is in the sun ( unless you would like a more blurry effect ,in which case you can experiment with moving or removing objects half way through the exposure.
Allow the paper to change colour in all areas. !-2 hours in bright overhead sun. Longer in other conditions; a few hours is good.
Once you have decided that the exposure is complete, move the board away from the sun and remove all the loose elements of your image. You can use a soft brush to remove the coffee and salt crystals.
Using gloves, wash the print in cold water gently, for about 5-10 minutes. This develops the print. It will change colour to predominantly blue. A large plastic tray or utility sink is best for washing. I would not do this in a domestic sink!
Leave to dry flat on its board, or on a drying rack if you have one. You can place news print beneath the paper to absorb the water. You will notice some colour changes as the print dries.
Admire your masterpieces and make some more!
You might also wish to scan your work before you wash it, as it takes on a very different hue after washing. You can see how the image of seaweed above changes from brown hues to blue hues after washing.
Have fun!
|
Welcome to Caroline Fraser Photography
Colourful abstracted and traditional photographic landscapes, book art and workshops. Capturing the moods and beauty of nature whether in wild open places or in small sanctuaries in suburbia. |


